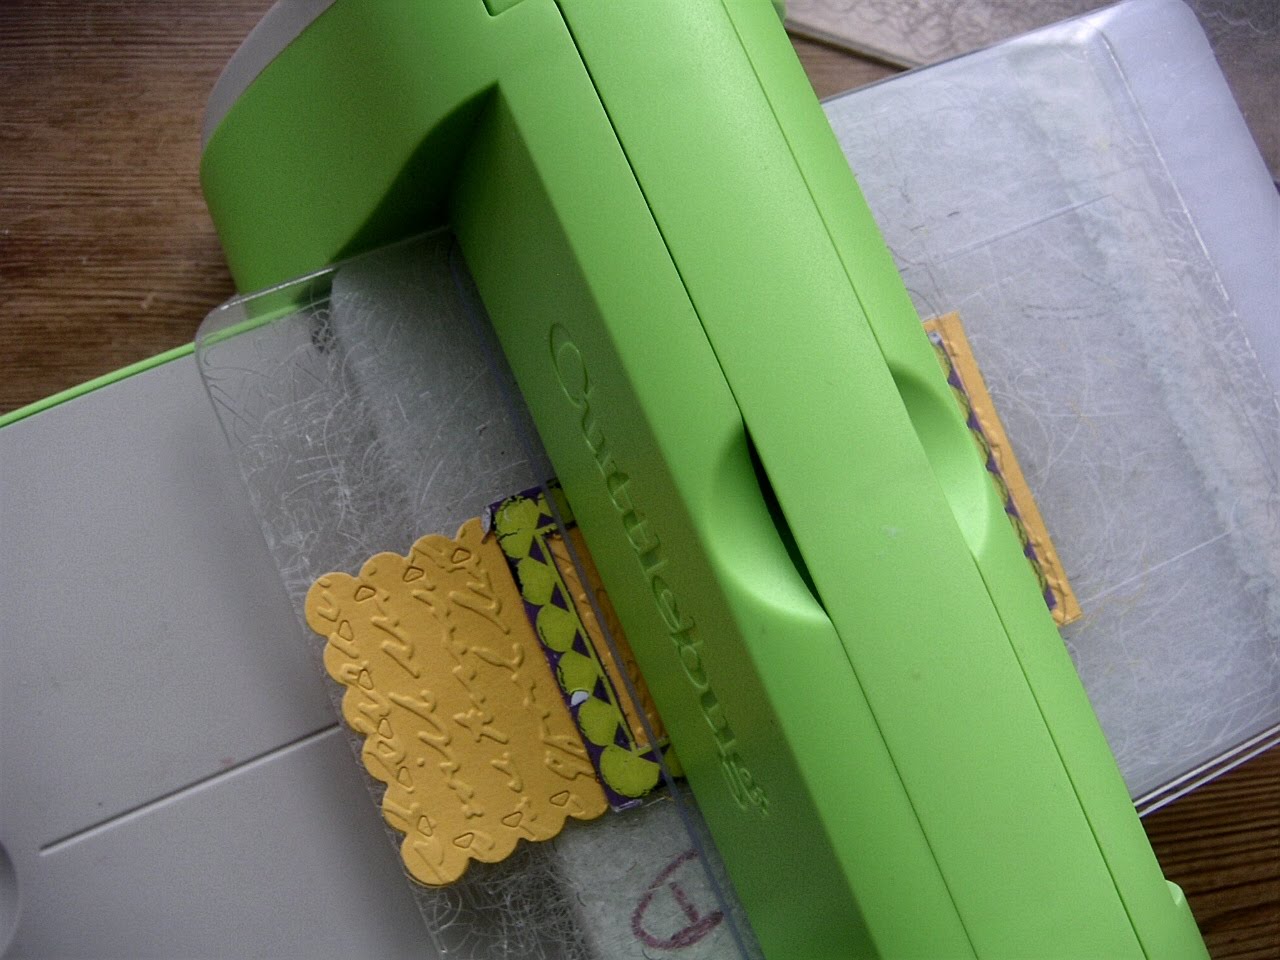
Hi Cuttlers, hope you have had a good week and are ready to come a cuttling with me.
This week I'm concentrating on making a 14cm x 14cm square card using the Swiss Dots folder. I have been using this technique for some time and I have seen others using similar methods with which some of you might be familiar, but this is the way I discovered while messing around with my buggy pal. It works for me and I hope will work for you - it is a basic card, but even basic can look stunning by a few bits and pieces from your stash - as I hope you'll agree when you reach my card!

You will need
A4 cardstock
Scoreboard and pen
Swiss Dots folder
Cut your card to make a 14cm x 14cm card and score centre fold
(or 5.3/4" x 5.3/4" if you are working in inches)

Now position your folder right up to the centre fold and emboss
You will notice that I do not wrap the card round the folder - I feed it through open.

This way you will be able to position the folder better.
The next step is to reposition the folder carefully matching
the pattern. You will find that in order to match the pattern on
the folder some of the dots from the first emboss will be overlapped.
No problem.
 Emboss again.
This is what will happen
Your will have a row of missing dots. No problem.

Turn the card to the back and with your pen push the row of dots through to the front.

You will see that the pattern has reappeared! This will be your finished card.


To complete your card the possibilities are endless, but this is what I used next.
Scoreboard, Round edge punch, Nesties labels, Harmony Alphabet, ribbon and gems, and Dufex decoupage.


I scored two lines across the bottom of the card and rounded the
corners of the card
 Cut two Nesties labels and letters.
Made an decoupage embellishment, added ribbon and gems
My finished card

From a basic card I now have a pretty and elegant card. Hope you like it!
If you have any messages, or problems, please leave a comment. In the meantime, wishing you happy cuttling. See you next week.