Hi

Hi, Thanks for dropping by.

My name is Eileen but to friends in the card making world I'm known as 'ikki'. (which is pronounced I-KEY) From where or how this came about I'm not sure - it just got shorten from my original craft name of Ikemo by various friends along my crafting way! I started crafting whilst recouperating from an accident, and from my first attempts with peeloffs and paint - I was hooked! Now my passion is my BUG! and now BEADING!

In the Cupboard you will find ideas, news, tips and techniques to help you get more from this fab little machine. So come in - join the fun and Cuttle with me!


Showing posts with label Alphabet. Show all posts

Friday, 17 June 2011

Wedding Belle Stamps from Chocolate Baroque

Like many peeps, I watched the royal wedding and was touched with the love and understanding that the couple shared. It was a beautiful and memorable day that we were allowed to share with them. 

At the time I was  working with a new stamp theme plate called Wedding Belle from Chocolate Baroque so I couldn't resist using their initials. 


Materials used:
Cardstock: Lilac hammer card
Silver mirri
   Paper from Essence of Nature CD
Stamps: Wedding Bell
Alphabet: Provocraft Harmony
Hearts: Marianne Creatables
Gems, feathers, flowers, ribbon

Tuesday, 17 May 2011

Now it's Caitlin's Birthday!

Today I have been working on my eldest Granddaughter Caitlin's birthday card - Caitlin is 8 on Friday and very excited to be reaching this great age!  I thought Mo Manning digi image ideal for an excited 8 year old and I just love the dog!
I'm finding my Grand Nestie Squares really useful for matting and layering - they are saving me messing about trying to get things square!   I know some folks are good at this, but me....not so!

I always feel chuffed when I manage to use something in the drawer - it makes buying the item seem worthwhile.   This is what I got out to cut the sentiment - it's called Birthday Wishes by Provocraft and includes a candle embossing folder and the word die.  To achieve the two tone effect I cut two different colours, then because I'd placed DST on the back of my card before cutting, mixing the colours was easy. 


Tuesday, 3 May 2011

Alphabet Dies

I have been making a card for a friend who is retiring from work this week .......

I know from experience that folks like their names on cards, so I started cutting letters with my Olivia Provocraft Alphabet dies in white card....they looked lost....so I cut again in red and shadowed the letters on the white....still not right, so I cut again in the charcoal grey that I'd used for the mat....and BINGO!  I reminded myself of my Grannie's saying "if at first......try again".   Those were happy days! 

I've not tried this way of using letters before, but it works well and if you use double sided  tape the letters easily join together and easy to place on your card.  Another first, but not the last! 


Monday, 23 August 2010

Nestabilities - Labels 2

Do you find sometimes that no matter how many dies you have none seem the right size or shape?  This happens to me quite often and it is real frustrating!

On my desk on last week's WOYWW I had a label 2 die cut on which I had watercoloured with Inktense pencils an image from the EI Townhouse Stamp themeplate.  Having done to a reasonable, but not entirely satisfactory colouring job, I looked the shape and thought...."now What"!  I could not come up with a design that looked right with the shape....so....knife in hand......holding breath.....I cut across the top and bottom of the die cut and ......

and I had a new shape


this new shape allowed me to stamp a scene onto a strip of card, matching up the tree and bush behind the house so that my new shape could be lifted on foam pads to give some dimension to the scene.  I like my new shape and think it could be very useful to ring the changes with the Label 2 dies - Wonder if any of the other labels can be changed?.....yet another challenge! 

Hope you like this idea, and if you use it - perhaps you would let me know so I can pop over.
                                                    

Tuesday, 17 August 2010

Provocraft Alphabet - Personalized Cards

One of the most used die sets that I have is my alphabet!   I have never made a card that has been personalized with the recipient's name that has not been  admired or treasured.  Added to this, when struggling for that something different....this could be the answer....
Tommy's birthday card - some lovely decorative paper, a border from the same pack, a ribbon, a peeloff  ...
 and his name.

This alphebet is Harmony - I only have the one set and have found this adequate for greetings, names or just initials.  If you look at my Love and Marriage Label on the sidebar you will find lots of examples of how I've  used these dies.  I like this particular set because they can be spaced evenly or unevenly, or even interlocked, and with using  double side tape - adhering them is easy. 

 Cut a small square, place DST on the back.
Sandwich:  A / B / die cut face up / Card with DST face up over the letter to be cut / B
Using this method you only cut where you need and the DST does not stick to the die.

Always remember that with the Provocraft dies you do NOT use the C Plate - if you do - something will break!  I know this - I have done this!

Buying dies is expensive!  How many dies do you have that you use?  How many sit in the cupboard?
As crafters we all have the tendancy to want ALL...but with the vast amount of dies on the market, sometimes choices have to be made!    I realise that  I'm always alerting you of new dies and embossing folders, even machines (more about that on Thursday)!   I share my experiences and information with you because knowledge if a powerful thing, with it you can make your choices wisely and your dies and folders will pay you dividends, if you don't! 

Have a good day,

Monday, 19 July 2010

Cuttlebug and Joy Crafts Daisies

Monday morning and back to work - well that's not really a true statement because I can't call crafting work - I should have used the words 'back to playing' instead!  Oh, goodie - I have missed my craftroom and my crafting mates in blogland - so hello all and thanks for your welcome home messages - it really is nice to be back and do you like this idea using your scoreboard to create a base card.....

Materials used:
A4 sheet of white linen cardstock
Scoreboard
Daisy dies from Joy Crafts
Provocraft Alphabet - Harmony
DP
Tag, ribbon, pearls

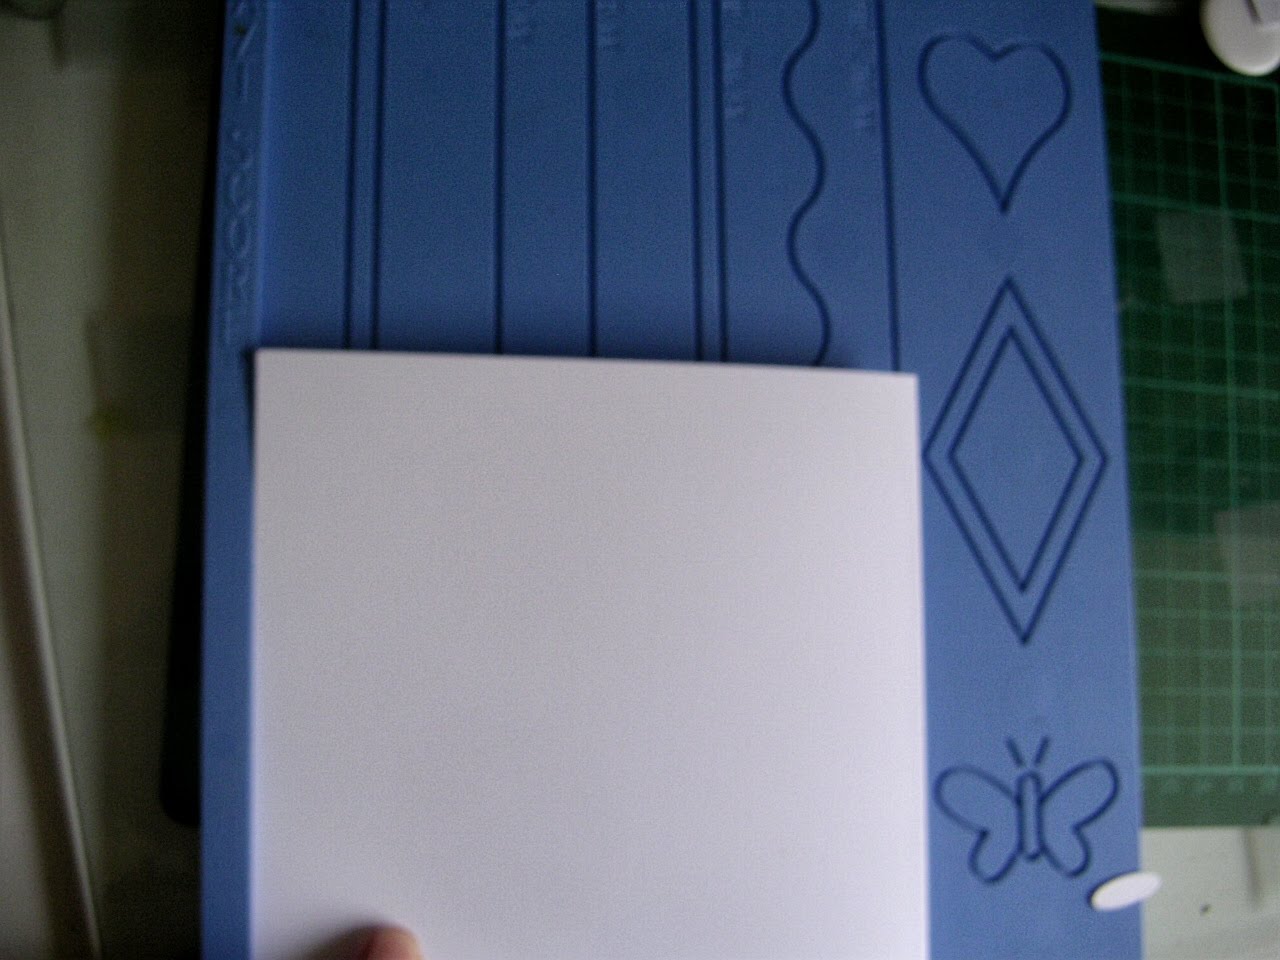
Take your A4 sheet and cut off a lengthwise strip of 62mm or 2.1/2" then with your scorebord make a centre fold on the A4 line. You now have a square card that measure 5.13/16"
Now you score two lines - on my EaziScore I used lines Box 2 and 4

Then scored again to make this effect 

Place card back on scoreboard and pencil mark centre on line 4 (or A4 Gate)
Now an apology - I forgot to take a picture of the front of the card!!!  BUT, this is how the card ended up.....I made an aperture card using the largest die from a set of Daisies dies from Joy Crafts. I placed the first die in the centre - you could guess but I used the pencil line as above - this made spacing the cuts much easier.  Then all I needed to do was to adhere my DP to the inside front, and.....


My finished card personalised with my bowling team mate's name using the Provocraft Harmony Alphabet.

I was left with 3 daisies!?!?!?!  Now, I don't like to waste anything, so.....I scored lines on the petals
made a tag, added the daisies and a number.....

and with another sheet of DP decorated the inside of my card.
Since Maria was not too keen on the idea of being 40 I thought this was a better idea than placing the numbers on the front!  However, I did tell her that there were worse things than being 40 - it could be her 50th!  As the saying goes .... "It not the years it's what you put into them that important!"  Happy Birthday Maria - have a great day today!

I have found that the Joy Craft dies cut with easy on my Cuttlebug and have not heard of any problems from my readers.  This company's dies are available from my supplier Liz (link on the sidebar) and this week (18th July to 25th) she is offering free postage on UK orders.

I told you this idea was adapable - you could use any of your small dies to create an aperture card.  I have used butterflies, squares, even Christmas trees - I'm sure you will tell me of others!  I will expand this idea soon because I think I know a way of using up even more leftovers and we all have these! 

Right back to my workdesk, it should be in a fine old mess by Wednesday for WOYWW - perhaps with something a bit unexpected?????   Enjoy your day!


Monday, 5 July 2010

Cuttlebug Textile Texture Folder - Wedding Card

Hi, the Cupboard is full of ideas and techniques and some get lost on the back shelves!  This card is one I made in August 09, and since it is an usual design I thought I would re-posting it for all the new visitors that drop by for a look in the cupboard.  Hope you like it!

I have made a number of wedding and anniversary cards lately, and have received queries on how I achieved the lines below my embossing. This I do with a score board - it is one of the most useful tools I have.

This is my most recent card that shows how effective lines can be.

I first printed the words on to a 6" x 6" card and then embossed the top half of the middle section with the Cuttlebug Textile Texture folder.

Then used the score board to emboss lines to frame to pattern.

Again using the score board, I added lines to the heart shape for interest. It's difficult to emboss die cut shapes and at the same time retain the embossed edge which I like, so this was an experiment which turned out well.
My finished card with a few bits and pieces added - actually the bouquet took longer to make than the card, but, I did enjoy doing it! AND, isn't that what crafting is all about!!
Thanks for dropping by, look forward to hearing from you.

Sunday, 28 March 2010

It's a boy!

 Hello Jenson......

 Welcome to the world!

The image for the card was a digital from the very talented Chris Dark at  Sketching Stamper Digi Stamps that I coloured with Promarkers and then triple embossed. (yet, again!)
then I used - Nestabilities Labels 2
                    CB - Vintage Corners
                    CB - Alphabet Harmony
                    DP  - K & Co Wedding Collection


NB:  In answer to a question   FAO: MUNKEEZMAMA

Thanks for your comment.  You asked about the card I used for my Mice birthday card - it was a texture called "leather" (I think) - but sorry I can't tell you where I got it from.  You should be able to find it in most craft shops.  Couldn't reply direct you left no contact address. 

Saturday, 20 February 2010

Cuttlebug Folder, Nestabilitie Oval Scallop, and stamping

Need a quick card?  BUT, also an interesting one - How's about this ....

Materials Used:
6 x 6 Cream Hammer card
CB - Swiss Dots Folder
2 Oval scallop dies
Vintage corner die
Harmony Alphabet
Decorative paper
Border punch
Stamp, ribbon and gems


I first embossed the front edge of the card, then covered the with DP with a shaped edge.  Any border punch would be fine, but this was actually cut with a Fiskar stencil template.

Cut and add the corners - to make these easier to fasten to the card, I always put DST (see glossary) on the back of the card before I cut. You can see this in more detail under the label : Alphabets on my sidebar.  On this card I also needed numbers, which were cut in actually the same way.

Cut 2 oval dies - one in cream card, the other in the same patterned paper.

Add your stamped image - not sure what this stamp is called or the manufacturer - there were some smaller flowers on the image, but I cut them off!  The mottled effect was achieved by using different colours of chalk and then covering with glossy accents.

This is not just a Cuttled card - it combines embossing,  papercrafting and stamping, but it's still an quick and easy to achieve card with texture, colour and interest.  Hope you like it!

Sunday, 6 December 2009

It's not a surprise!

On Monday last I posted a picture of a box, with a promise of showing you just what I had in there.

Well today is the lady's birthday so the secrets out!
"Happy Birthday, Ann". I hope you like your card.

The lady's husband organised a surprise party last Saturday at the Bowling Club, which she thoroughly enjoyed. I too got a surprise when on Monday I was presented with an envelope containing £50 for my Breast Care Appeal. How thoughtful and caring of him to raise this money from his guests! And, how generous his guests!! Many, many thanks to you all.


PS: This card shows just how much equipment you need to make a card, something that our customers tend to forget! I used: Trimmer, guillotine, scoreboard, card, papers, Nestie Labels 1, CB Alphabet Harmony, 2 punches, 3 stamps, wire, flowers and gems, ribbon, feathers, ink, glue, DST,
foam pads and last of all a PC programme to change a photo into an embossed image.

Monday, 19 October 2009

Spellbinders Borderabilties - Make a card

My bowling mate was 15 last week. When I make a special card, I first look at the criteria - teenage, must be pink, must be funky, bright, and personal! On last week's TT, I illustrated using Borderabilites so I've included a border to show you how effective these can look on a project.

I used:
Square Card
2 Basic Grey papers - Euphoria
Borderabilities - Spade
Nesties - Rectangles
CB - Alphabet - Harmony
CB - Birthday Wishes
PB Stamp, Gems and Flowers

Cut your border

Using the wax paper it easily comes out of the die
Cut the sentiment and initials. I use DST on the underside of the paper, and place on the back of the die. You could use a glue, but these cuts are so fiddly that I end up with glue everywhere.

This seems very elimentary - but I know from experience when cutting initials - it is sooooo easy to cut them backward!!!!! So I thought it was worth mentioning for new owners of DC machines.
Now all I needed was a Penny Black stamps and a few gems, glitter and flowers
A personal, funky card for a teenage. "Happy Birthday, Emma" Hope you had a great B'Day.

Back on Thursday with .......?!?!??!.....you'll have to come back to find out, because at the moment it's a mystery to me as well!

Sunday, 3 May 2009

Debossed D'vine Swirls Folder and Nestabilities

In this week's tutorial I have used the D'vine Swirl Folder and Heart Nesties to make a Wedding Day Card. These two were made for each other! So what else could I possibly use?

Materials used: A4 sheet of White Linen cardstock
Folder: D'vine Swirls
2 Heart Nestie Dies
Harmony Alphabet
Flowers, ribbon and beads

I first printed the words on A4 card - cut the card to 28 cms x 14 cms - scored a centre line and folded. I also scored lines just above the words.

The front of the card - the scored lines give a good edge to line the folder up to, and they just look like they should be there to finish off the pattern.
To make the card a little different, I've used the debossing method by using the folder on the reverse side. Position the folder just above the scored line. This is a brill folder because you can use it from the top, bottom or sideways, which is the way I have used it and the pattern looks right each way. The Cuttlebug logo is now underneath.

Run through the Bug - Sandwich : A/ B/ Card in folder but not wrapped round/ B
Your base card now looks like this - after I had added another line.

Next for the embellishment - Cut 2 different size hearts
Sandwich: A/ B/ card/ Die -cut side down/ C
Now to emboss these
Sandwich: A/ Die (cut edge up) with card inside/ Tan Mat and Shims (you know how many your machine will need)/ 2 B plates
Run through the Bug

Leave the card inside when you have embossed - turn over and with a scoring pen run round the edge again.

and here you will see why I do this. The embossed edge is now super defined!


To finish my card I have made initials with my Harmony Alphabet and made a flower embellishment with added beads and ribbon


t
The topper for my card

and my finished card.
I love the D'vine swirls folder and when you deboss the pattern it gives a completely different look. I'm not sure whether I like it embossed or debossed best -How about you?
Hope you'll come a cuttling with me next week.