Hi

Hi, Thanks for dropping by.

My name is Eileen but to friends in the card making world I'm known as 'ikki'. (which is pronounced I-KEY) From where or how this came about I'm not sure - it just got shorten from my original craft name of Ikemo by various friends along my crafting way! I started crafting whilst recouperating from an accident, and from my first attempts with peeloffs and paint - I was hooked! Now my passion is my BUG! and now BEADING!

In the Cupboard you will find ideas, news, tips and techniques to help you get more from this fab little machine. So come in - join the fun and Cuttle with me!


Showing posts with label Scoreboard. Show all posts

Wednesday, 24 November 2010

Nestabilities - Squares, Snowflakes and Crfts 2 U folder

My tutorial today is based on Nestie Squares and finding a different look.

To make this card you will need:
A4 Cardstock: Cream Hammer
Decorative paper
Nestabilities: 2 large classic squares (size 4 & 5)
                    2 Create a Snowflake dies

Crafts 2 U: Snowflake embossing folder
Gems, ribbon

Base Card:  cut a 6" strip from the A4 cardstock and centre crease.  Place the embossing folder to the centre crease and emboss.  With scoreboard create two lines to finish the pattern.  I have debossed the folder so that the inside of the card is more interesting.

Place the smalliest snowflake die in centre of the plain panel (low tack tape will help hold it in place) and cut out.  Reposition and make two further cuts. Save the cutouts.
 
Cut a strip of DP and add to the inside of your card.


The embellishment:
Cut l square from the largest die in a matching cardstock to your decorative paper.
Cut l Cream square from the smaller - you can cut this from the strip left over from making the base card. 
Cut another of the small squares from the decorative paper used on the inside of the card. 

From the cream square - cut out the snowflake and add the decorative paper behind, then layer on coloured cardstock....

You will see I have used one of the cutouts from the base card and a red gem in the centre of the snowflake.
With a red gem added to the centre of the small snowflake cutouts your card will look like this.....   


As I said yesterday, an easie peasie card, but classy.  AND, a great way of using those leftover bits of decorative paper that you just cannot bring yourself to throw away!

Hope you like this one.   If you use the design and blog it, I would apprecaited you linking back to the cupboard - I started the Cuttlebug Cupboard to share my experience and knowledge with you - please help me to share it with others by spread the word.
                                                                           

Tuesday, 16 November 2010

Nestabilities - Squares

I think the basic squares are soooo useful, and can be made to look different if you can conbine it with other  square shapes. 

Here I have cut a red large classic square, then with a smaller big square scallop die, cut out the centre to make a frame. If you want the stamp the edge of your square, don't do as I did - stamp before you cut!

With another square of decorative paper behind the frame you have.....
You will notice that I have embossed only part of the Craft-2-U snowflake folder straight onto the card base and added two lines to finish the pattern.  At a busy time of cardmaking, this is a useful technique!

If you have not done this before, my tip is to place the folder on the card where you want the pattern to be embossed, then place the second B plate on the edge of the folder and guide the uncovered back through first.  If the folder should mark the card, THE LINES WILL COVER THE IMPRESSION.   Scoreboard scores again!

Tuesday, 5 October 2010

Eazi score

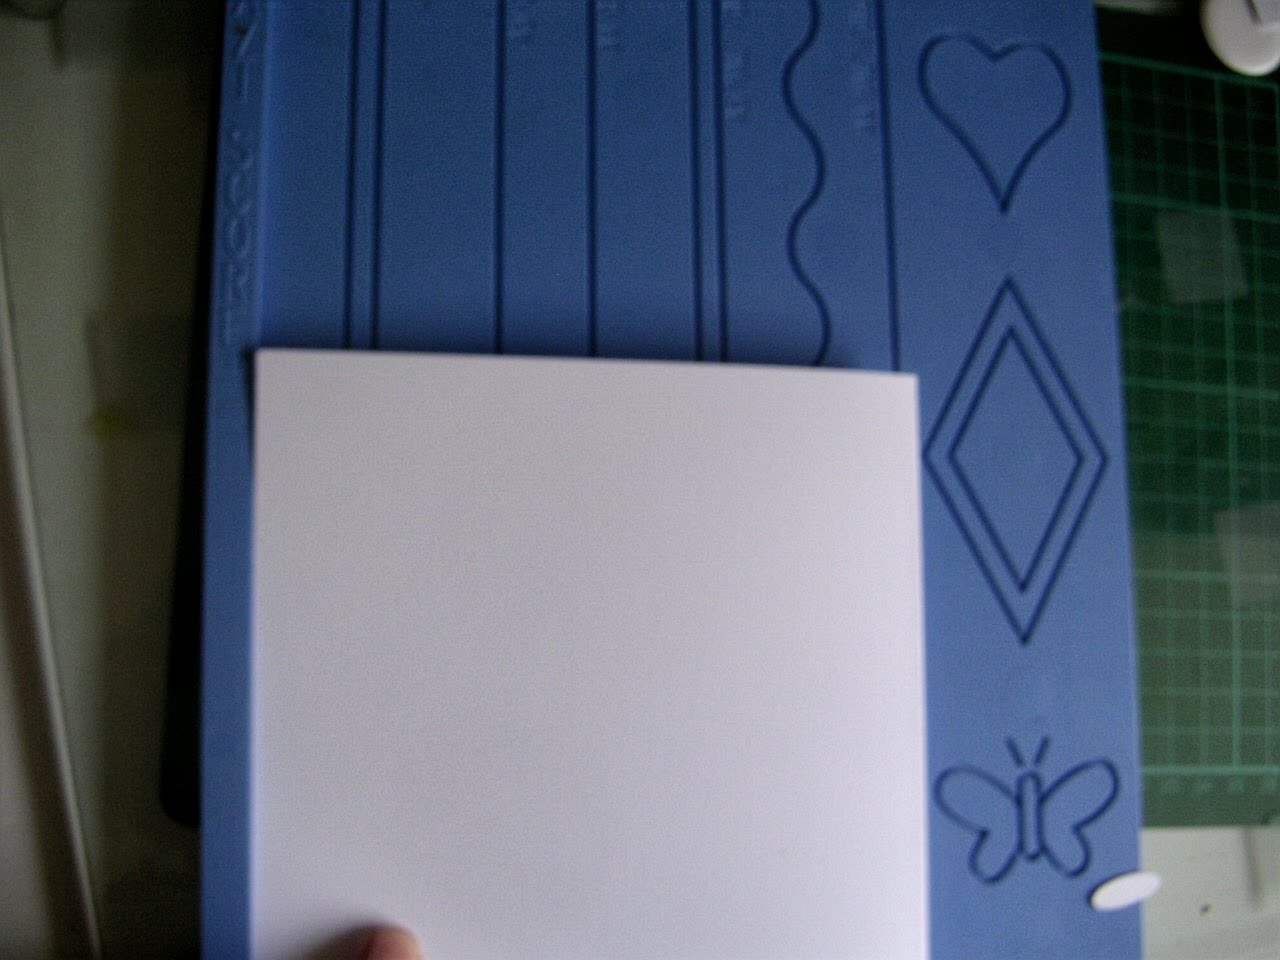
I love lines on cards which is why my Eazi Score is one of my most useful tools.  You may have this product, or you may have another make, but whatever you have you can work it! 

This is another of my easy simple cards for a sometimes difficult occasion when you want to let someone know you care.


Tuesday, 21 September 2010

Nestabilitie Squares and Scoreboard - Fanned lines

Hi, Dave has not been well since late of Sunday evening, to the extent that he came very close yesterday to being re-admitted to hospital. Thankfully, the situation improved and now we are just taking a day at a time and hoping that the worst is over.

Since he is in bed resting and I needed to unwind, I thought I'd pop back to show you this "Just to say" card  I made recently:  a card for any occasion....

Materials used:  6" x 4" white hammer card
 Image:    Inkadinkado Butterflies and Birds - triple embossed
Nestabilities: Small Squares
Scoreboard: Eaziscore

To achieve this fanned line effect - use the 2 lines as shown.  Do the first line corner to corner, then keeping the bottom corner on the first grove line, move the card to the second line and score again, and so on until you have your desired lines one way, then reverse to complete the design. 

A simple but effective card that you could use for any occasion - today, if I were to write inside it would say "A Big Thank You to you all" for your positive and caring messages. 

Monday, 13 September 2010

Elusive Images and Halloween Stamps

Halloween!  Time for some fun crafting! 

I have to say that I have never made any Halloween cards before, but when presented with the stamps from Elusive Images celebrating this time of year, I was hooked!  What fun - soooo creative - they allow your imagination to soar with the bats, grow with the  pumpkins, candles light your way through the cobwebs to the spooky houses and much more..... you can check out the designs available from this Elusive Images link.

The Design Team has been busy making cards and today we have a blog hop for you.  Why not join us and see our work and on the way you may find some candy ?  Feeling interested; feeling lucky - pop over to the Elusive Team Blog (link on my side bar) you will see all the DT blogs listed for easy assess.

This is the card that I made for the Blog Hop - it's not my spookiest, but I thought this would look good in the Cupboard as although it's a halloween theme, the layout is adaptable to other occasions and the techniques useful to you.

Materials used:
A4 Black linen and Bronze pearlised cardstock
Stamps: Elusive Images
Nestabilities: Squares Classic Large and Big Scalloped Large
Marianne Creatables : Swirls
Inkpads: Black, Clear Perfect Medium
Bronze Embossing Powder
Glue
Scoreboard

Method:
Fold A4 card in half to make a landscape card - emboss 2 score lines along the top edge

Die cut:  2 Black  and 2 Bronze squares  (I used the 2"die)
Emboss the edges with an embossing pen  or tan mat.  ( I like this finished, but it is not necessary )

Make a frame from the 2 Bronze squares using a scalloped die - save the cut-outs
Make the same  frame from 1 on the Black squares - save the cut-out

Stamp the cut-outs black on bronze/bronze on black using clear Perfect Medium inkpad, cover with embossing powder and heat.

Fit the cut-outs into the appropriate squares.  Decide where you would like to position the squares, and add another 2 scores lines underneath.

On a rectangle piece of card, stamp the sentiment with clear Perfect Medium inkpad, over with embossing powder and heat. 
On the edges of the rectangle - with a prit stick glue (or similiar)  run round the edges in a thick  irregular pattern, cover with brozne embossing powder and heat. 

Die cut swirls from the Bronze card and assemble on card with the sentiment tag. 

Hope you have a go a this, it sounds lengthy when reading the instructions, but it's a design that all can use whether you are a beginner or an advance crafter.  If you don't have the dies - you could use a punch.  I'd love to see your work,  if you leave me a comment I'll come over and visit. 

NOW, my Design Teamies have some great cards to show you and I wonder where that candy will be????? 
To be in with a chance to win, here's what you will need to do:
1. Become a follower of The Elusive Images Design Team Blog and all the DTmember blogs
2. Leave a comment on my blog and all the teamies blogs.

The winners will be chosen by Random Org at the close of the Blog Hop on Friday September 17th and the winner will be announced after 5.00 p.m.

Come and enjoy some ghouly fun with us! 
          

Monday, 19 July 2010

Cuttlebug and Joy Crafts Daisies

Monday morning and back to work - well that's not really a true statement because I can't call crafting work - I should have used the words 'back to playing' instead!  Oh, goodie - I have missed my craftroom and my crafting mates in blogland - so hello all and thanks for your welcome home messages - it really is nice to be back and do you like this idea using your scoreboard to create a base card.....

Materials used:
A4 sheet of white linen cardstock
Scoreboard
Daisy dies from Joy Crafts
Provocraft Alphabet - Harmony
DP
Tag, ribbon, pearls

Take your A4 sheet and cut off a lengthwise strip of 62mm or 2.1/2" then with your scorebord make a centre fold on the A4 line. You now have a square card that measure 5.13/16"
Now you score two lines - on my EaziScore I used lines Box 2 and 4

Then scored again to make this effect 

Place card back on scoreboard and pencil mark centre on line 4 (or A4 Gate)
Now an apology - I forgot to take a picture of the front of the card!!!  BUT, this is how the card ended up.....I made an aperture card using the largest die from a set of Daisies dies from Joy Crafts. I placed the first die in the centre - you could guess but I used the pencil line as above - this made spacing the cuts much easier.  Then all I needed to do was to adhere my DP to the inside front, and.....


My finished card personalised with my bowling team mate's name using the Provocraft Harmony Alphabet.

I was left with 3 daisies!?!?!?!  Now, I don't like to waste anything, so.....I scored lines on the petals
made a tag, added the daisies and a number.....

and with another sheet of DP decorated the inside of my card.
Since Maria was not too keen on the idea of being 40 I thought this was a better idea than placing the numbers on the front!  However, I did tell her that there were worse things than being 40 - it could be her 50th!  As the saying goes .... "It not the years it's what you put into them that important!"  Happy Birthday Maria - have a great day today!

I have found that the Joy Craft dies cut with easy on my Cuttlebug and have not heard of any problems from my readers.  This company's dies are available from my supplier Liz (link on the sidebar) and this week (18th July to 25th) she is offering free postage on UK orders.

I told you this idea was adapable - you could use any of your small dies to create an aperture card.  I have used butterflies, squares, even Christmas trees - I'm sure you will tell me of others!  I will expand this idea soon because I think I know a way of using up even more leftovers and we all have these! 

Right back to my workdesk, it should be in a fine old mess by Wednesday for WOYWW - perhaps with something a bit unexpected?????   Enjoy your day!


Thursday, 8 July 2010

Tippy Thursday - Score Board

When I first started crafting the first crafting tools I purchased was my scoreboard.  - it called Eazi Scorer and I use it on nearly every piece of crafting I do.

I mainly make my own card size with the help of my board, but even though it scores all weights of cardstock and tells me where to score for the size I want;  there are times when you fold  the card and find that the card is sligthly squiffy.  If you have had the same problem here a little tip:

After scoring,
 push the card up against the lip of the board (or any square edge) and then fold and crease - and your card edges will be straight.

Recently I saw a board called a Hougie - I liked it at lot!  To start with it matches my little green Bug, and I can see it being  a very useful aid to measuring novelty cards because of the lines being in cm and inches, but there are no card size measurements on it if you make your own cards!  So it looks like me having to have 2 boards!  Isn't easy to find reasons to buy a new tool!

Monday, 11 May 2009

Adapting folders with modifying folder pad

Making cards larger than the Cuttlebug folder is the topic that I'm illustrating this week. Sometimes a client wants a bigger card size!
BUT, still wants an embossed card!!! Sometimes the client wants a picture!!! This is something that you can achieve....

Materials used:
A4 White linen cardstock with PC generated sentiment
Swiss Dots Folder
Modifying Folder Pad (MFP)If you have not seen this before you will find instuctions here
Photo provided
bits and bobs from stash


Having printed the sentiment and centre score the cardstock,
position the folder as shown with the MFP taped in place and run through the Bug

Sandwich: A B Folder with card wrapped round, MFP (shim if necessary)

YOU DO NOT NEED THE SECOND B PLATE


The result you get


Reposition the folder and MFP on the other side as shown and using the same sandwich, run through the Bug


You will see from the close-up that with this folder you do get a slight impression at the edge of the pattern


BUT, you can overcome this by using your scoreboard and using the marks as a guide - get rid of them!


Your finished embossed card


I'm making this card for a Naming Day and I was a little stumped as to what kind of card to make! In the end the client decided to have a photo on the card


My finished Naming Day
card


My problem of making a larger sized card with an embossed pattern, has been solved by using a modifying folder pad. You can adapted this to any folder, and also increase or decrease the border by changing the size of the MFP - what you are actually doing is making your OWN border folder. Neat, eh! You can also emboss straight on to the card without having to cover up lines with ribbons etc., and the result looks crisp, clean and professional.
Hope you'll find this useful. I'll be back on Tippy Thursday - hope you'll drop by and if you have any ideas or tips that you would like to share with me and my cuttling friends I'd love to hear from you.